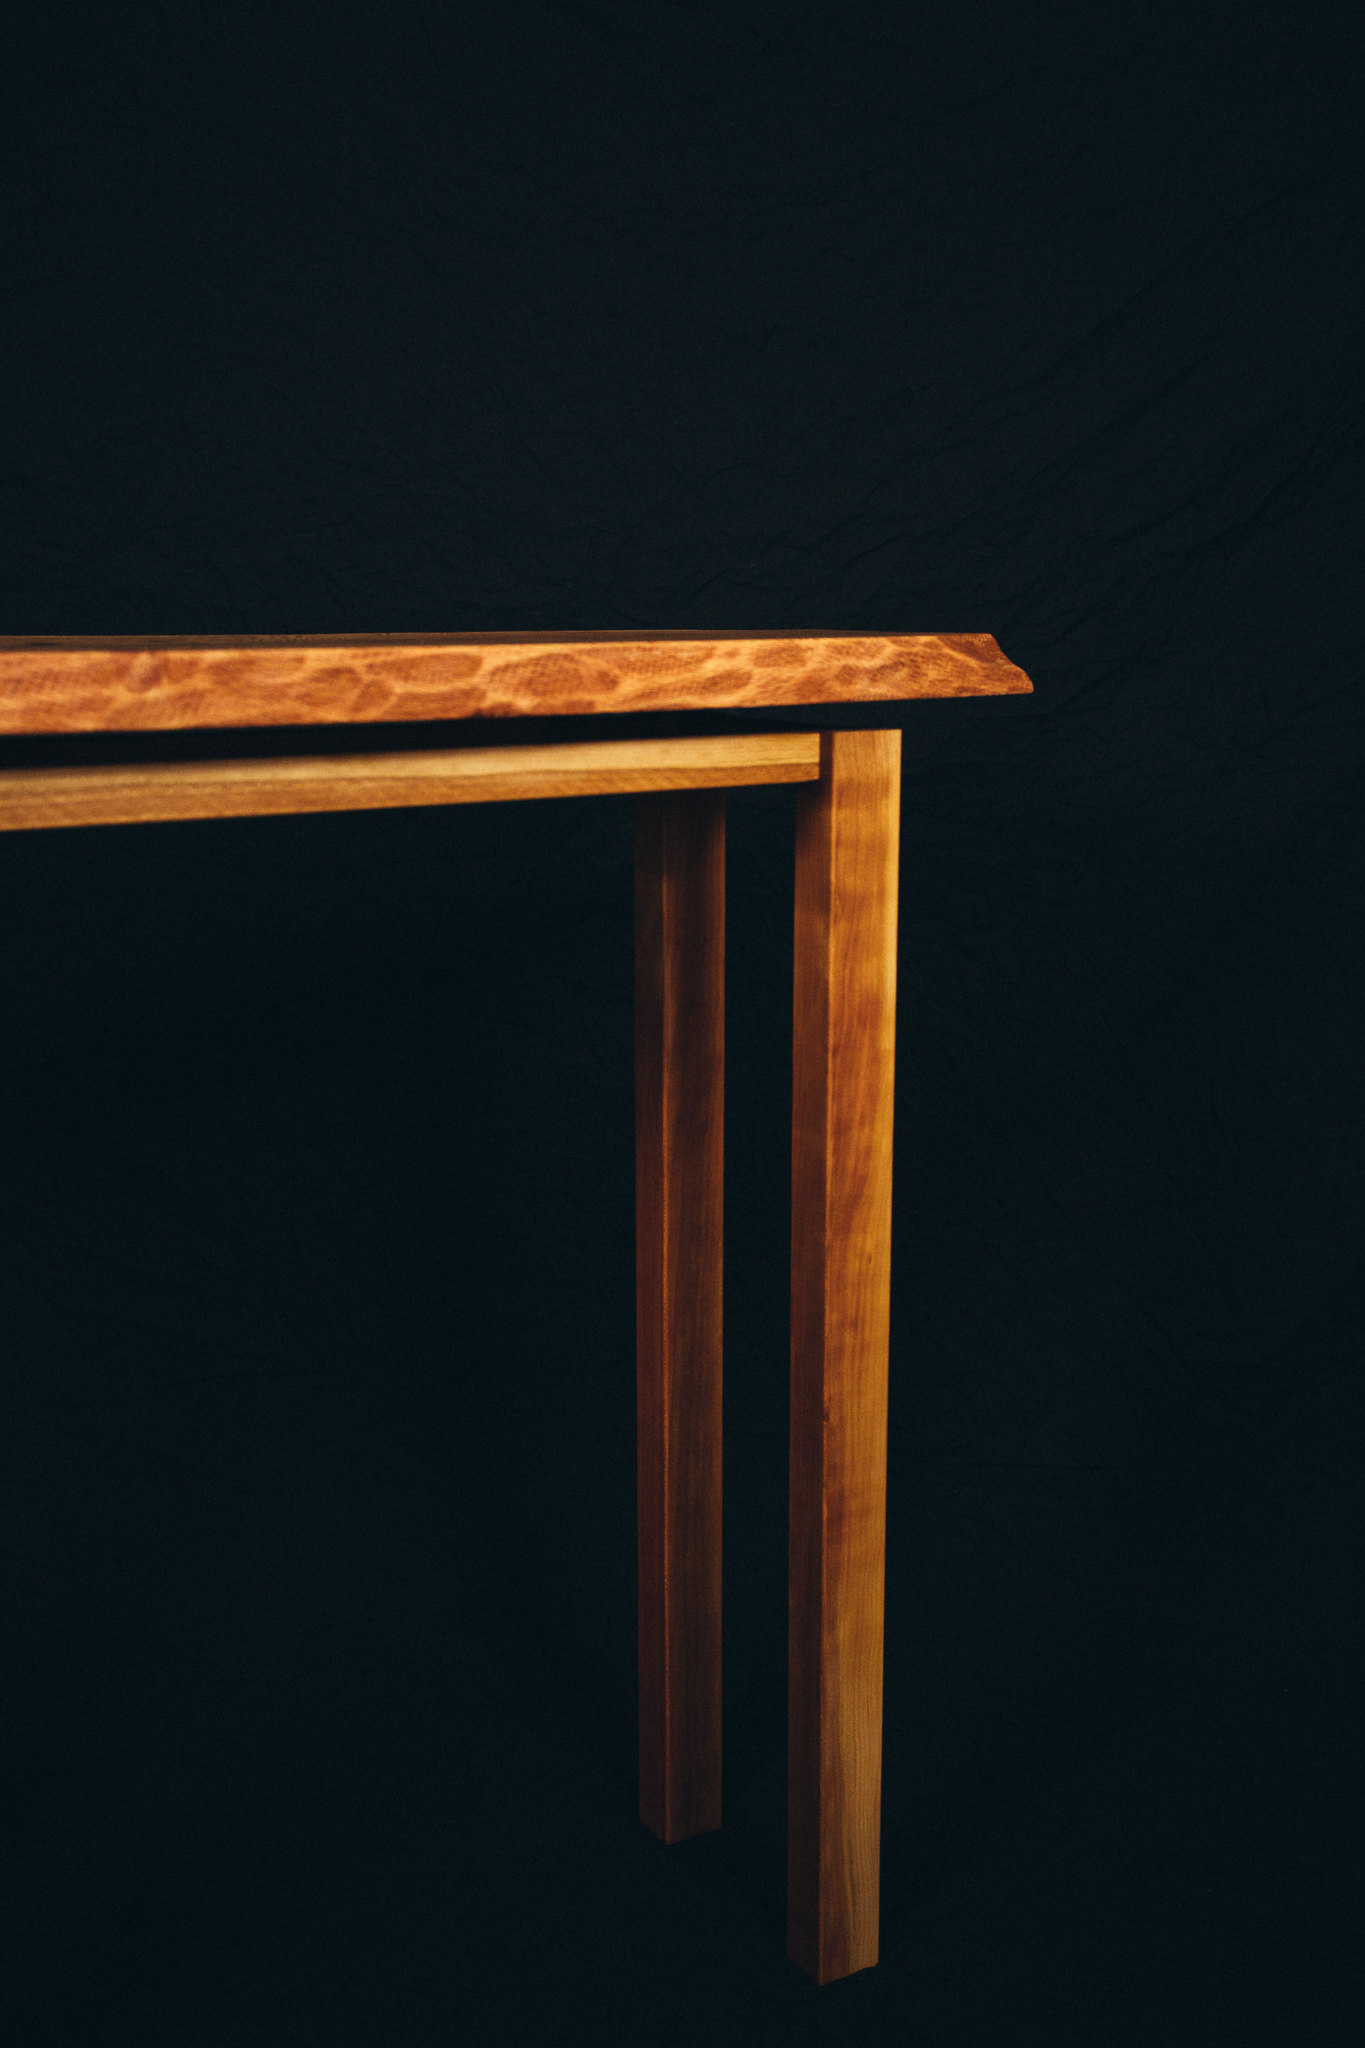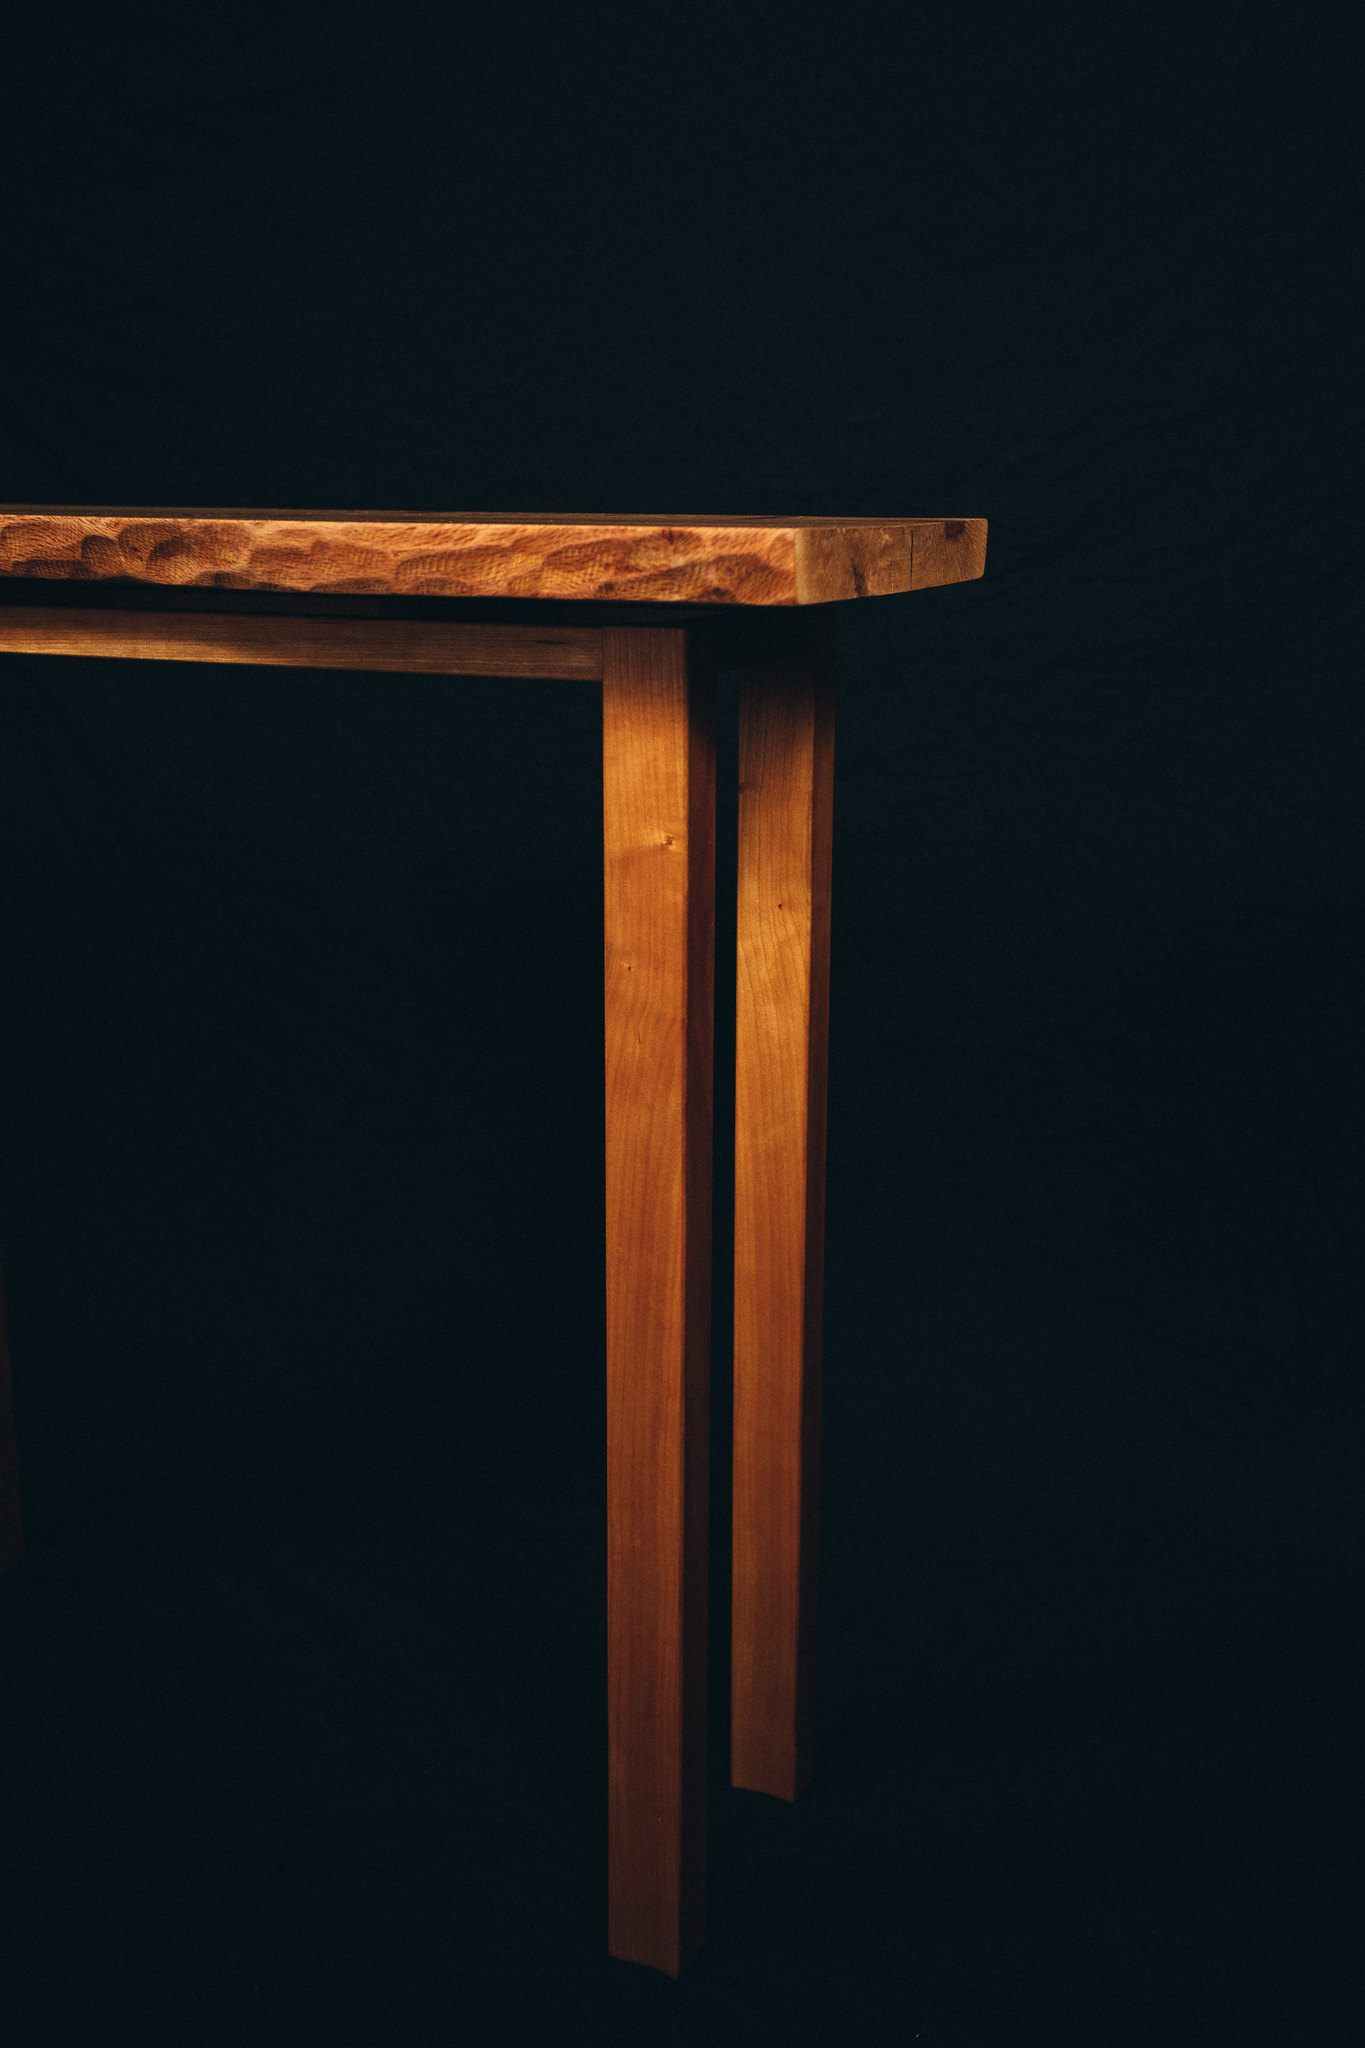
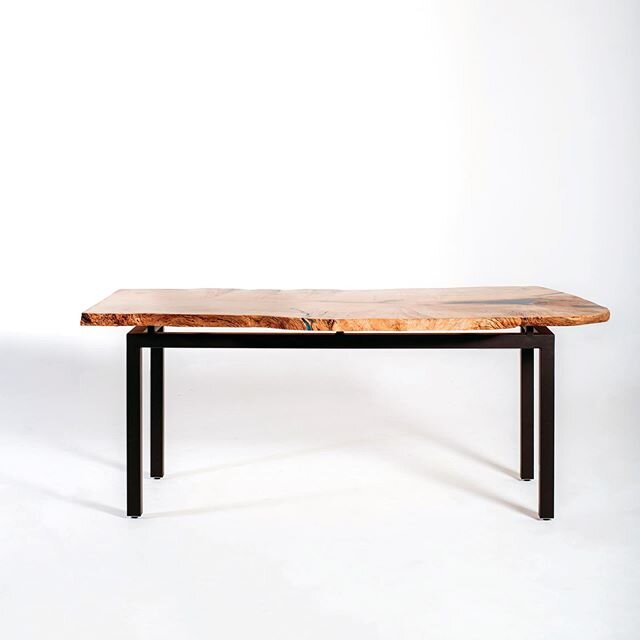

I have always wanted to create a table where the tabletop had a floating look to it. So one day, I was browsing in one of my favorite wood stores in San Diego and this tabletop caught my eye. The grain seemed to start in the middle of the slab where a knot was, and radiated outwards. I was mesmerized by it, as I had never seen a grain pattern like it before. The wood turned out to be a Coastal Live Oak that is native to California. I was surprised by how dense and heavy it turned out to be and this would later affect the build and construction. After finding the tabletop, I knew what I needed to do to make my vision come to life.
I like to start by sketching my ideas on a sticky note. (Seriously!) No measurements or cut list but more of a raw idea of what I want my piece to look like. I love the freedom that experimental projects provide because there are no standards or forms I have to follow - just imagination and creativity. The main problem I have is misplacing that sticky note! (haha)
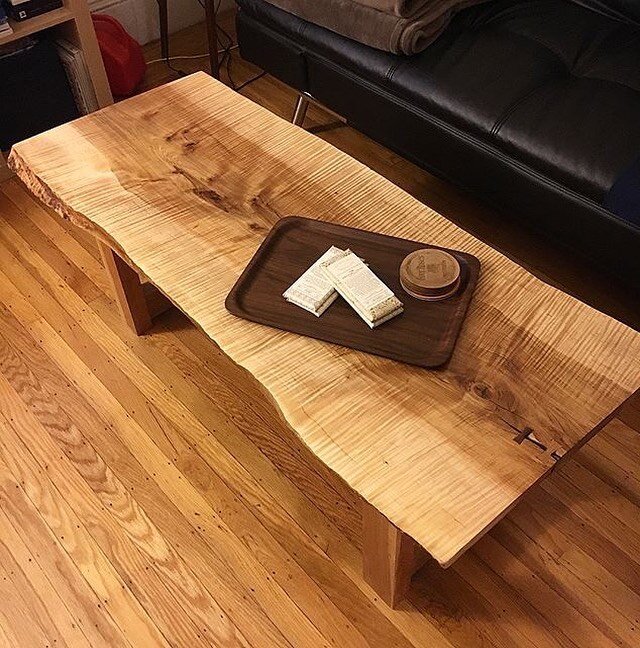
Building the base of the table always starts with choosing the type of wood that compliments the top. Lately I have been choosing Cherry wood because I love the light brownish red color. I have found that it goes well with a lot of different types of wood tabletops too. Here was my idea: a simple four-legged table base with two cross members in the middle of the base. These two middle cross members would sit above the base stretchers, hold the tabletop and give the appearance of a floating table. I envisioned that these cross members would only be seen when looking at eye level with the table.
Then, I cut all of the material to the correct lengths and widths without a hiccup but the dry fit was more tricky. One thing I’ve learned over the years is to always do the dry fit first to make sure it fits perfectly before gluing it together. This base was more tricky because the middle cross members were raised about two inches higher than the rest of the base. This means the table wasn’t flat on the workbench like it usually is when I flip it upside down. I ended up gluing the parts in sections instead and it fixed the problem.
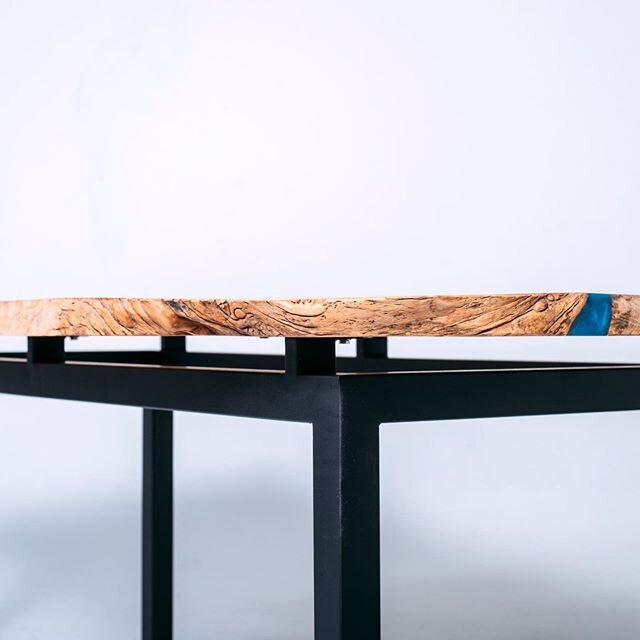
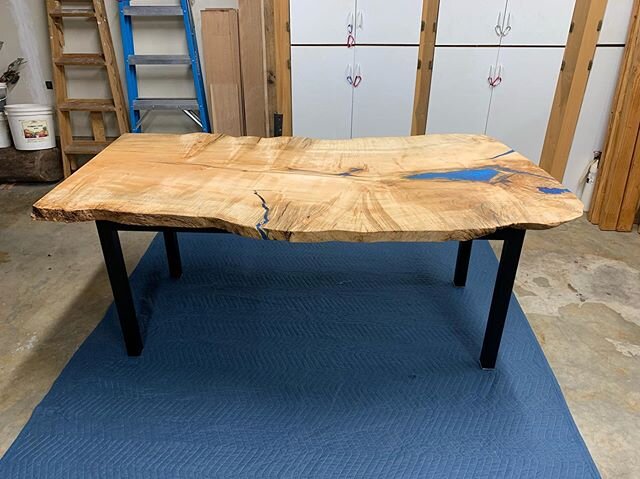
This slab wasn’t quite the right length so I cut it and filled in the holes and cracks with epoxy. The epoxy is great because it helps stabilize the integrity of the wood (and it looks great!). For this tabletop, I did 3 pours, waiting 24 hours between each one for proper drying. I then hand-scraped the excess epoxy and sanded it. (This is always my least favorite part during a project.) In the first stage, I sanded the sides of the slab. This part is very tedious, as I do all the edges by hand. Afterwards I sanded the top - starting with 60 grit and increasing to 300 grit. It takes about four to five stages to make it smooth. Once the top was perfectly smooth I apply the finish (My favorite part!). I started using an oil based finish called Odie’s Oil 6 months ago. I like it because it is natural, non-toxic and easy to use. It is by far my favorite finish I have used to date. It is amazing how the grain really pops after applying and buffing out the oil finish!
Overall I thought the table turned out very well. The one thing I would do next time for this particular project is change how I connect the middle cross members so the base can attach more easily to the tabletop.